How to Make a Cute Disney Savings Jar
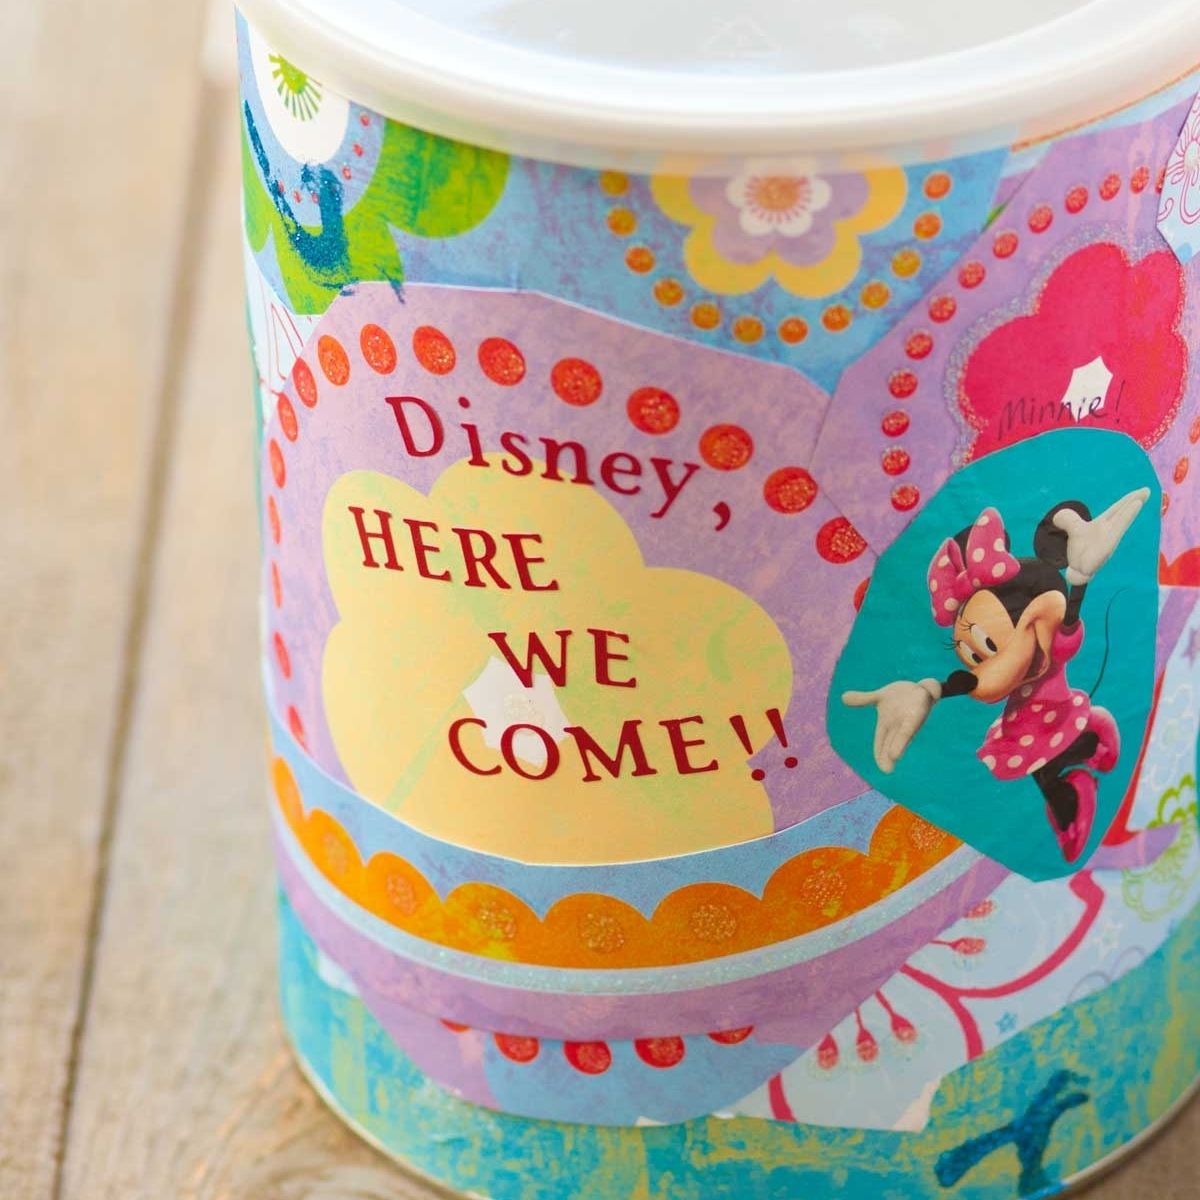
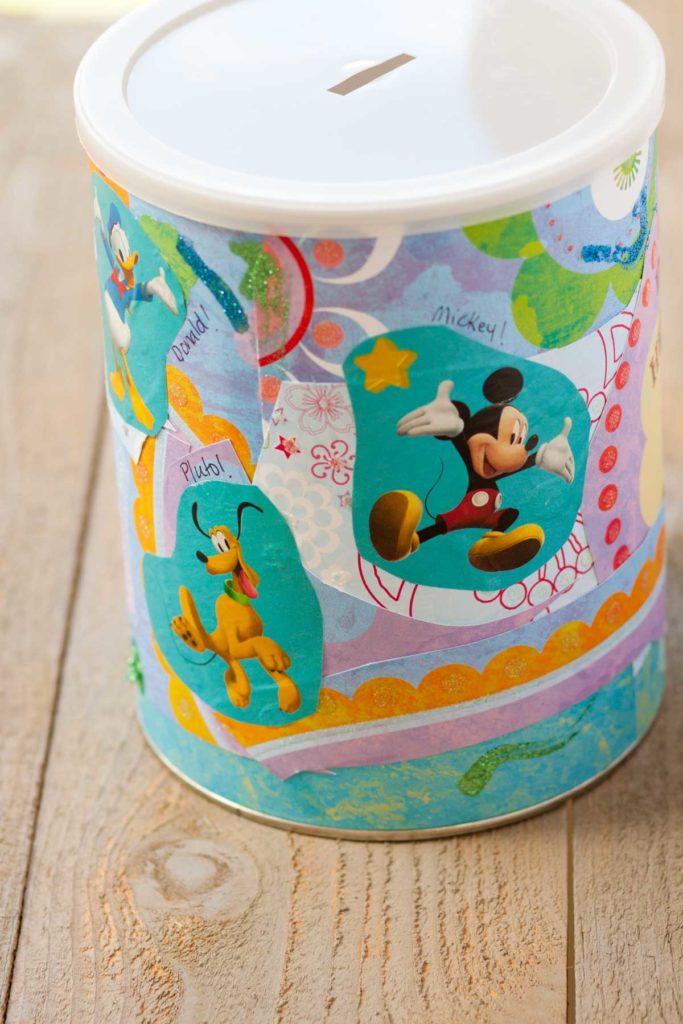
Make a DIY Disney Savings Jar using easy supplies from around the house. This is a fun Disney craft project to make before your trip.

I dreamed about taking our kids to Disney World since even before we had kids! I love all things Disney and I was so excited to experience the park with tots in tow and watch their little faces light up.
Once my daughter became aware that Disney World even exists, I saw an opportunity to have our very first lesson in finances.
Thus, the Disney Jar was created.
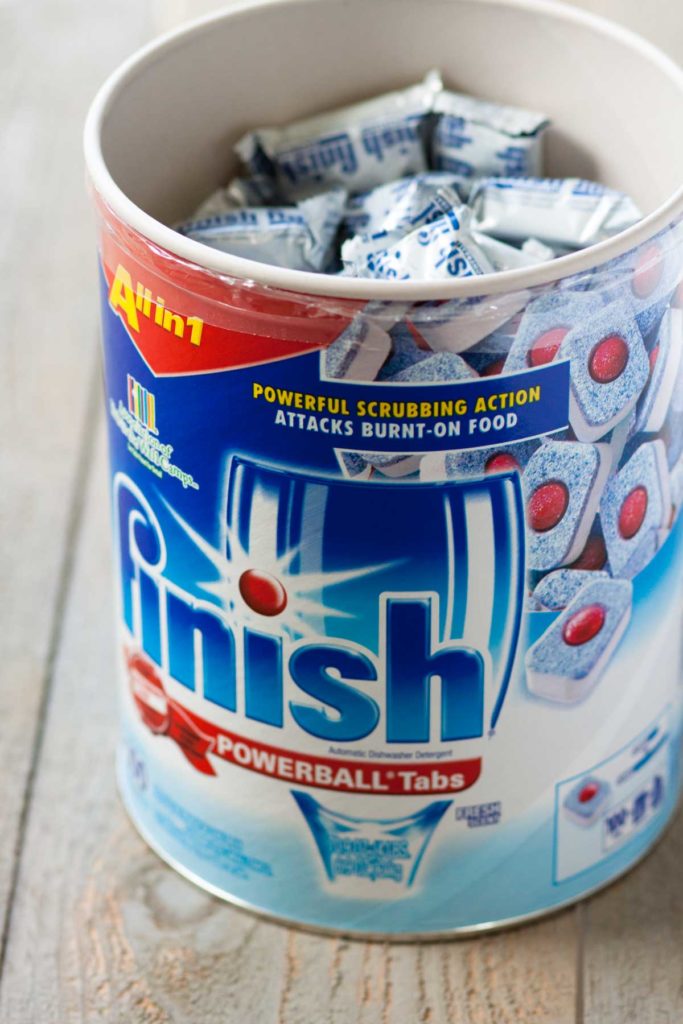
Using an old, empty, dishwasher tabs container from Costco (imagine LARGE), the Peanut and I had a fun afternoon experimenting with decoupage.
I sat her down with scissors and a pile of scrapbook paper and told her to just cut out whatever shapes she wanted.
Supplies You Need
- The Jar: I used an old dishtabs container from Costco that was a round paper cylinder with a plastic lid. You could use a couple Pringles containers and make smaller jars that you cash in and put in a savings account more often.
- Colorful Paper Assortment: scrapbooking paper, wrapping paper, magazines, etc.
- Disney Themed Paper: We had some old Disney wrapping paper but you could print off a few character images on a printer, too.
- Letter Stickers
- Mod Podge
- Sponge Brushes

Step 1: Cut the Paper
I had my daughter cut the paper into random large shapes. They don’t need to be perfect or uniform, you’ll be layering them onto the container later.
Step 2: Paint the Mod Podge
Working together, she coated the back of each paper cut-out with Mod Podge and we covered our jar like one big puzzle.
I had some leftover birthday wrapping paper from her party so we cut out the Disney characters and added them to the jar.
Just have fun with this step. The point is to cover the whole jar in paper by the time you are done.
Step 3: Add Flourishes
What young girl’s craft project would be complete without glitter?? This of course is optional.
Some Elmer’s glue and some cotton swabs were used to decorate with spots and swirls for the glitter to stick to and I added the final touch of stickers for our label.
Step 4: Let It Dry Before Stickers
Let the whole container dry completely before spelling out your message in letter stickers.
Add the lid and you’re ready to go!
It’s not a fancy or difficult craft project and it only took an hour of our time but this was one of the smarter crafts I’ve done in a long time.

We’ve entered that phase where the Peanut asks for something, anything, every time we go to the store. I have absolutely loved being able to respond, “Well, we could buy (fill in the blank small cheap trinkety piece of junk) or we could save our money for Disney.”
It has worked like a charm. I feel great that the jar has gotten the Peanut really thinking about money and it’s consequences.
I love that she is learning to forgo immediate gratification for a longer term bigger prize.
And selfishly? The Disney freak in me is excited to be taking even these very small baby steps towards that future trip. Even if it is just nickel by nickel.

One Comment