How to Write a Travel Itinerary
Learn how to write a travel itinerary with all the important information you’ll need to access for your trip on the go. These flexible tips strike the perfect balance between planning and enjoying a relaxing vacation once you’re there.

A little bit of planning goes a very long way when it comes to having a useful travel itinerary.
You can avoid stressful last-minute guesswork at your destination by thinking ahead and tracking important pieces of information you’ll be able to access from your phone on the go.
Know exactly what you want to see, do, and eat while leaving plenty of open spaces for changing your mind if you want. Then you get to just sit back and enjoy your adventure!
Share your itinerary with a trusted person back home in case something goes wrong, you’ll have a much easier time with all that information easily accessible if you need it.
Where to Track Your Itinerary
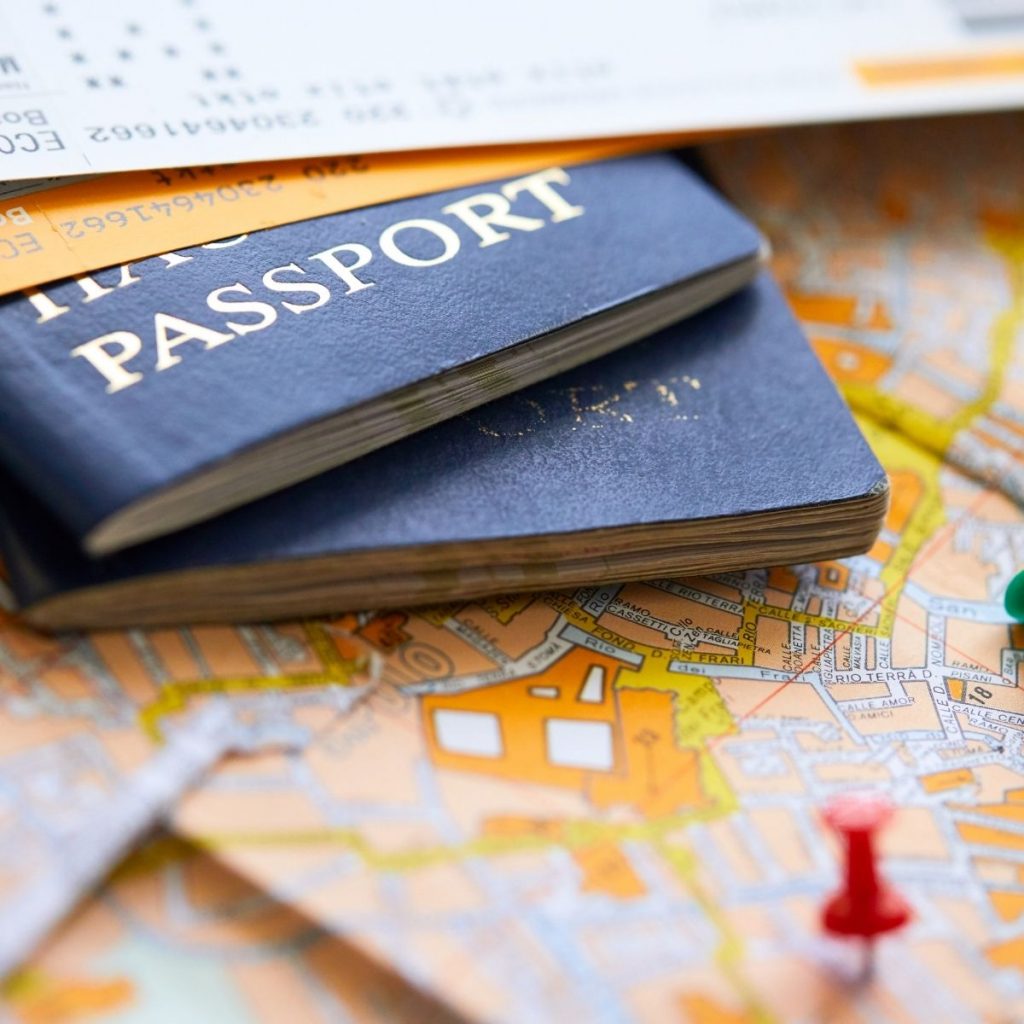
The itinerary of where you’ll be, what you’ll be doing, and all your travel arrangements is such important information you will want easy access to it on the go. It is also smart to share the information with a trusted family member or friend in case of emergencies.
With that in mind, the best place to keep an itinerary log is some place digital you can access from your phone and easily send to your friend.
I’ve tracked itineraries on:
- Google Docs: The most open and flexible method, but it can be difficult to keep it organized.
- Airtable: A free online database program that is like Excel on hyperdrive. I loathe spreadsheets, but I love Airtable. This is an excellent choice if your trip requires a team effort when it comes to packing or pre-trip tasks. A large camping trip, trip to the beach, or multi-state road trip would all be good examples. You can create custom views to see just the parts of the planning process you need.
- Wanderlog: My sister suggested this free mobile app to me when planning our London trip. It was a fantastic tool to use when planning a trip to a city where we’ve never been and planned to do massive sightseeing to special attractions throughout the area. I loved the built-in maps and how the app plots walking tours to destinations you pin in your itinerary.
All 3 of those free solutions allow you to share a view or document with your travel companions and could be accessed from your phone at any time.
The Basics
Writing an itinerary is going to be a work in progress in the weeks in advance of your trip. You want a central location to keep all your information in one place, but before you know all the plans you can start with the core basics:
- Your Destination
- Your Travel Dates
- Who You’re Traveling With: Even if this is just your partner and/or kids, go ahead and add the names and contact information for every member of your travel party just in case.
Then as you make arrangements, continue to add the information to your travel hub.
Flight Information
Once you’ve booked any necessary flights to your destination, be sure to document all the specifics
- Airline
- Flight Codes and Times
- Frequent Flier Number (as applicable)
- Customer Number/Name on the Booking
Then as a precaution against possibly needing to make a claim on lost luggage after your trip, you’ll also want to document:
- Confirmation Number of Your Purchase
- Confirmation Code for the Tickets
- Luggage Tag Information: You won’t get this until you actually fly but add an open spot in the itinerary for you to track it later.

Hotel Information
Once you’ve booked where you’ll be staying, you’ll want to add the following to your itinerary:
- The Name of the Hotel or Your Rental Host’s Name
- Address
- Contact Information for Host or Customer Service / Front Desk
- Confirmation Number
Your Schedule
My dad always told me never to go on a vacation without an itinerary. Not so that I was pigeon holed into sticking to the pre-planned activities but so that I had a general plan for my time and didn’t miss the important things I wanted to see or do.
If we’re going to Disney, our itinerary is often planned down to the hour with a complicated arrangement of ride reservations, dining plans, and park entry information.
If we’re going on a relaxing beach trip, the only thing on any given day might be a dinner reservation.
For a complex vacation like our family spring break trip to London, an itinerary becomes seriously important. I actually switched gears halfway through planning our London trip, be sure to see my suggested method notes below.
No matter what kind of trip you’re taking, add a space on your itinerary for every day of the trip. Even if you have to leave it blank for now, you’ll have a place to add your ideas later.
How to Plan Your Days
When I was researching our London trip, I was completely overwhelmed by the enormous list of options available to our family. Knowing there is absolutely NO WAY we could see everything, how do you choose the most important things to add to the schedule?
I started by having our pre-trip family “One Thing” meeting. Once I had a better idea of what was most important to my husband and kids to see, I started filling in the itinerary with those items first.
Once all the big-deal can’t-miss items were on the schedule, I had a better idea of what kind of open free spaces we had to work with.
I found it most helpful to look at each day, see what the one big activity was and where it was, and then make a simple list of options that were nearby as our secondary list.
For Example:
Day 2:
Breakfast at Sky Garden at 8 am (My Daughter’s Request)
Nearby Things to See:
- St. Paul’s Cathedral
- Leadenhall Market
- Monument to the Great Fire of London
- London Bridge
Churchill War Room Reservation at 2 pm (My Husband’s “One Thing”)
Nearby Things to See:
- Westminster Abbey
- Big Ben
- Parliament
- St. James Park
Then when we were actually on our vacation, I didn’t have to wonder what we were close to. We arranged to see the most important thing but then had the option to fill the open spaces with the other interesting things we wanted to see.
We could also look at that secondary list and decide we were too tired, or it was raining, or we just weren’t interested in the items. But at that moment we have to know that we may not make it back to see those things and consciously choose to let them go this time.
For our family, this was the most flexible approach to a complicated trip.
Advanced Reservation Information
When traveling to a large city like London, most tourist attractions offer advanced ticket purchases for timed entry to help control the crowds and give you a shorter queue for waiting.
You can see the list of places to book advanced tickets in London here.
For each of those kinds of activities, be sure to keep your digital tickets on your phone, print out copies to bring just in case, and add all the confirmation numbers to your itinerary.
- Attraction Name
- Ticket Numbers / Confirmation Codes
- Time to Arrive
- Address
Dining Reservations
Most vacations do best with at least a couple dining reservations made in advance so you don’t have to guess what’s for dinner every night of the trip.
Even if you just plan one or two meals somewhere in advance, be sure to add them to your itinerary:
- Name of Restaurant
- Time of Reservation
- Address
- Phone number
- Reservation Number
- App or Email Where You Can Update/Edit the Reservation
- Cancellation Deadline: Crucial because many popular places charge a missed reservation fee that can be more expensive than the actual dinner you may have purchased!
Day Trip Travel
If your vacation includes a day trip, be sure to include all the additional core basics that may be necessary.
We stayed overnight for our day trip to Paris from London, so I had to include the second hotel and transportation information. However, even if it had just been a one day back-and-forth, I would have included our Eurostar train ticket information, etc.
- Destination
- Transportation Method: Bus, Train, etc.
- Ticket Numbers & Confirmation Numbers: Includes these for the transportation and all entry to the attractions at your destination.
- Schedule
Important Safety Documentation
Whether you include it as part of your actual itinerary document or share the information with your friend or family member in a more secure way, be sure to also include:
- Passport Information: Photos of the documents themselves and all the data necessary. This will help you in the case of a lost passport.
- Driver’s License: A photo and/or all the data.
- Insurance Information
- Front and Back of All Credit Cards You Plan to Take
Share with Your Back-Up
Be sure to share your completed itinerary with your travel companions as well as someone you trust who is staying at home.